Bear-ly a CMS: Publishing joisig.com from my note-taking app
I love the note-taking app Bear, available on macOS and iOS. I’ve been a paid user for years, and it’s where I do most of my writing (outside of emails).
I had the idea to use Bear as a CMS for my personal site, joisig.com, and started hacking away at it an embarrasingly long time ago in my so-called “free time”, and I have finally launched an updated version of this site that runs on my custom CMS, which serves up content directly from a snapshot of my Bear database.
I’ve open sourced this custom CMS (AGPL license) and made it available on GitHub. For now at least, I’m not really expecting to develop it forward as a proper project, more just putting it out there. If you’re interested in using it for yourself, take a look at the caveats for potential users near the end of this post.
My intent was to make it a lot less friction for myself to post small blog posts a lot more frequently, for example to document simple things I’ve learned that I think might be useful for others. I’m pretty sure I will still suck at regularly posting any longer-form stuff, but we’ll see!
Dall-E's rendition of a bear writing a note, stuck in a web. 
What’s it like to use?
Any time I want to write a new blog post, I start a new note in Bear with the tag cmsbear/post (or cmsbear/draft if I want to keep it a draft and only be able to preview it while logged in).
I write the post, add any images within it, and can manipulate some metadata for layout, all within the Bear note-taking app. When I’m happy with it, I run a command that synchronizes my Bear app database with the one stored on my web server, and then it’s live.
The latest posts and pages I edit in Bear are just a click away from being live on my site.
And anything I’ve already written in Bear is just a few edits away from being adapted for my blog.
All layouts and includes that are used to build up pages, blog posts, and even the Atom feed on the site, are stored in my Bear app, and if I update them there, changes are just a click away from being reflected on the site.
As a bonus, I have an offsite backup of all my notes, and I can log in using OpenID Connect, and if I’m logged in as the configured super-user for the site, I now have web-based access to all my notes, in case my Apple devices are unavailable.
Challenges and easy wins
I wrote the CMS and web server in Elixir using the Phoenix framework, an excellent setup that I would recommend people take a look at.
For rendering web pages from Bear, I used the excellent Earmark library, which is a markdown parser that can output an AST, to parse the markdown files stored in Bear’s database (which is a SQLite file).
Unfortunately, Bear saves notes in a non-standard markdown format, so I had to jump through some hoops. I ended up needing a way to walk the AST and sometimes restructure it, and this restructuring code along with its uses, for things like adjusting from Bear markdown as well as implementing some of the metadata layout tricks I created, turned out to be the most intricate bits of code. My walk-and-restructure implementation ended up in Earmark a bit later (see the Earmark pull request) but my CMS is still on my slightly-custom version.
Another bit that was somewhat tricky was rendering a page or post by parsing a layout and its includes, along with the body content, in a way similar to what Hugo or Jekyll (which I was using before this) build up static sites from templates.
I expected it to be a bit of work to figure out the Bear database, but I found a few open source projects that already had some details, the best of which was Andy Matuschak’s one. Since the database is just a file-based SQLite database, it was quite straightforward to attach to it from an external uploader process, issue a VACUUM INTO command to get a consistent snapshot into a separate file, and then upload that to the server.
Synchronizing images and attached files was a bit of work but just silly fun, I implemented something like a one-way rsync. The server builds a list of path and content hashes for all files it already has, and the client then selectively uploads any files that the server doesn’t have, or whose content has changed. I made the decision never to delete files, and might at some point keep multiple historical versions of files along with the database file, but for now for disaster recovery backup I simply rely on my trusty Hetzner VM’s 7-day backups.
Details of usage
When you run your own server, you will want to build the production configuration using MIX_ENV=prod mix release in the project folder.
Try to run it and it will complain of missing environment variables for various secrets and configuration. See runtime.exs for the details of each of these. You’ll probably want to put these in some kind of .env file on your server.
To upload your database, use the cmsbear_upload.py script. It needs a couple of environment variables - the URL of your server and your API key (which is a secret string you generate and provide to both your server and the upload script).
Mostly you simply write Bear notes and format them with the standard Bear tools to control the look of your blog post. There are a couple of special cases.
Each page has page-level metadata. For example, here is the metadata at the top of the current blog post:

You can put this block anywhere in your post but generally it’s good at the top. There are several attributes you can set, among them:
-
layoutindicates the layout to use; this is thenameattribute of the layout file; see the details below on an example theme. -
dateis the publishing date for the blog post -
permalinkis just what it says
For images, a few extra things were needed. Here’s an example from my bio page showing the main ones:

You put the cmsbear-metadata block right after your image, and there are various attributes you can set:
-
titleoraltis optional, is used for alt text -
figcaptionis optional, lets you put a caption below the image -
attrib-Xis optional, lets you override any attribute of the<img>element -
Another one is
fictaption-attrib-Xwhich lets you override any attribute of the<figcaption>element
Example theme
You can create any layouts and includes you want, all in Bear, and a Jekyll or Hugo theme can be a starting point. However, CMSBear has nowhere near all the templating capabilities of those systems, and the syntax is a little idiosyncratic.
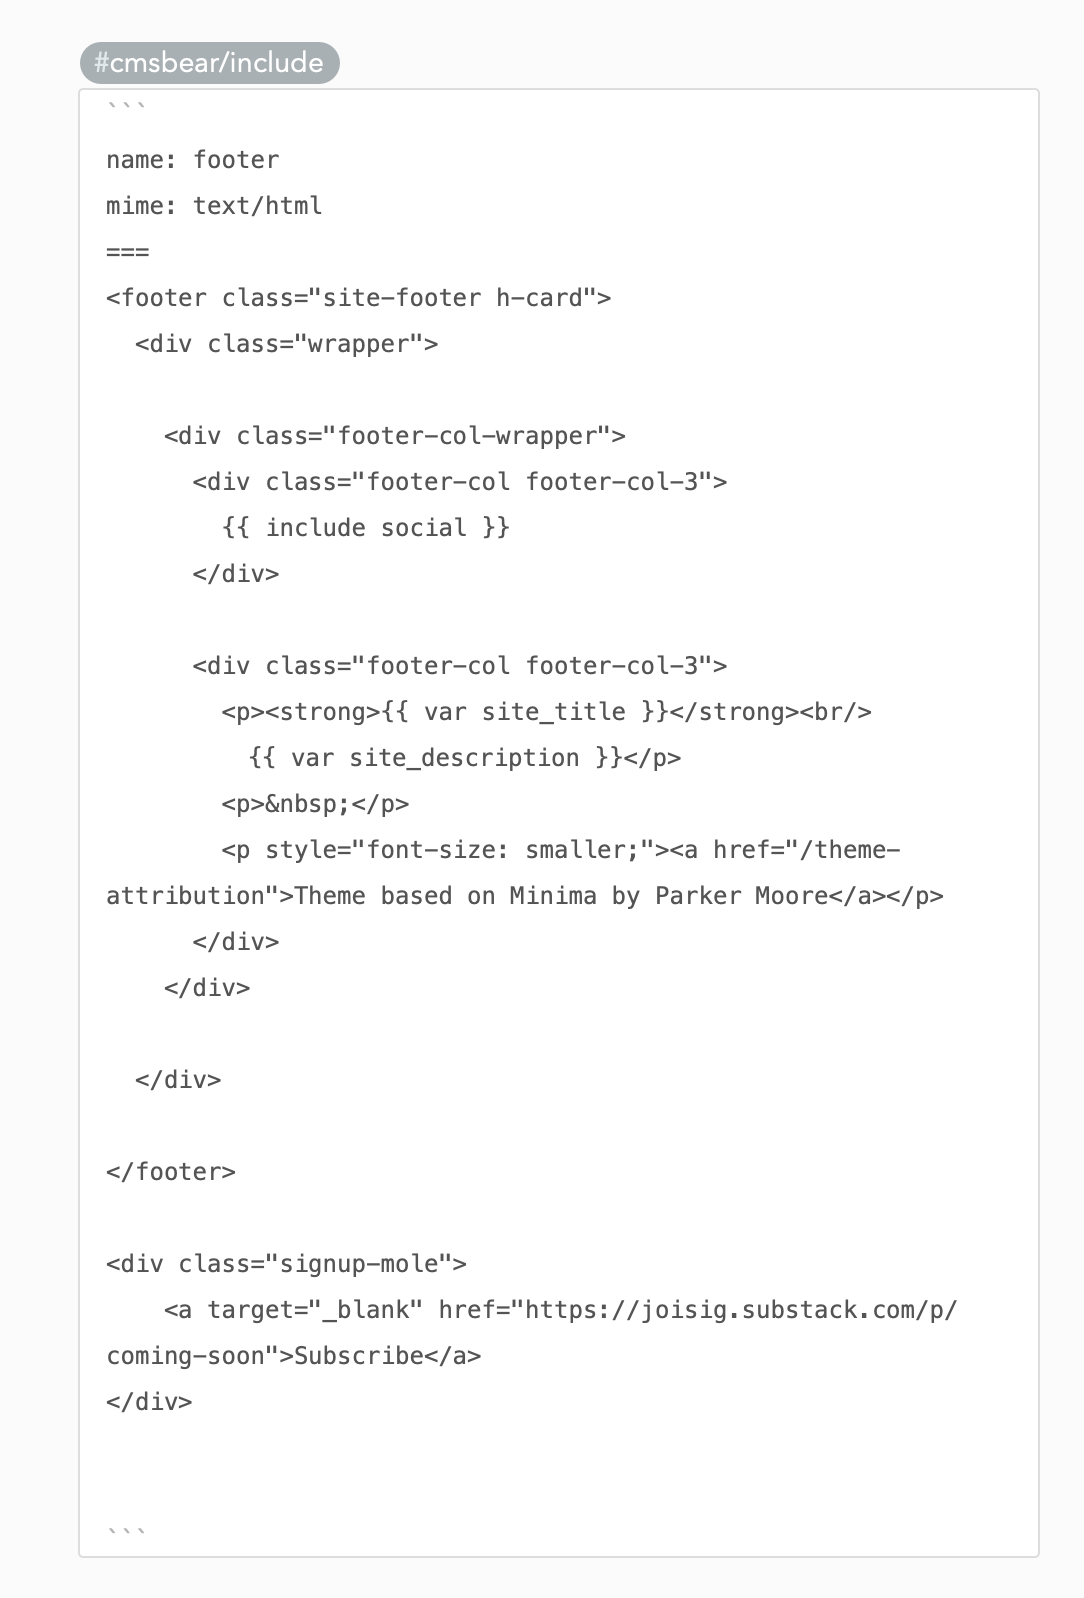
To get you started, I’ve put together a page that shows all of the includes, layouts and static files that I am using for my site as of this writing. It’s a big long list so not including it right here in the blog post, but here’s one example of how to format an include in Bear. Its name, in the frontmatter, is what layouts or other includes can refer to it as. Its MIME type is just that. Variables are replaced into the template using the var variable_name syntax. Includes are done using a similar syntax.
A layout gets the tag cmsbear/layout, an include gets cmsbear/include (as above) and a staticfile gets the tag cmsbear/staticfile.
Caveats for potential users, and areas that might develop
There are quite a few things to be aware of, if you decide you’d like to use this software for yourself:
- Primarily, I haven’t committed to making this a supported or actively maintained open source project. Mostly I’m sharing it as an example, or a basis for you to fork. I expect it will be an open source, but not open contribution project from my end, although feel free to ask if you think you have a useful pull request, and definitely file bugs using the GitHub issue tracker when you find some.
- Secondarily, the system is currently designed for only a single user that is uploading a database, i.e. it is essentially single-tenant, although in principle it could be extended to be multi-tenant. Being single-tenant is fine for my uses and is maybe still useful for some folks who, like me, love Bear and would like to run their website using it, on a private small server somewhere.
- There are some bits of configuration you need to bake into your Elixir configuration files, or provide as environment variables. Some of these, I’d like to move into a Bear-based configuration file down the line.
- There is currently no way to filter your database and upload only some tags. Myself, I like having a full backup on my VM, but preferences will vary.
-
The set of public tags (that users who are not logged in can see) is fixed at
cmsbear/postandcmsbear/page. - There is exactly one user with privileges other than viewing public pages, and that user’s email address is sort of hard-coded in configuration. Down the line it’d be nice to be able to grant different users privileges to different tags or individual pages.
- Right now there is just one listings page, and one Atom feed. It would be nice to be able to generate listings pages based on tags, and/or create a pageable listings page based on a search, etc.
- The templating language is quite limited, and has fairly idiosyncratic syntax. Even with the examples I posted, you’re likely going to need to dig through the source code to figure things out.
Finally, it’s out in the world!
This project was a bit of a long time coming, although almost all of the work was done during a couple of Xmas breaks and a few evenings between this Easter and now.
I’m really glad to have it launched!!
They say you should find the first version you launch a bit embarrassing, and that definitely holds here, so I don’t think I launched too late!
Hopefully it will help me blog a bit more.